
PokerTable
On this page
Overview#
The Online Planning Poker tool is offered. It can be used in estimates for scrums. Sign up with an email address, or use your social account(Google/LINE).
Screenshot#
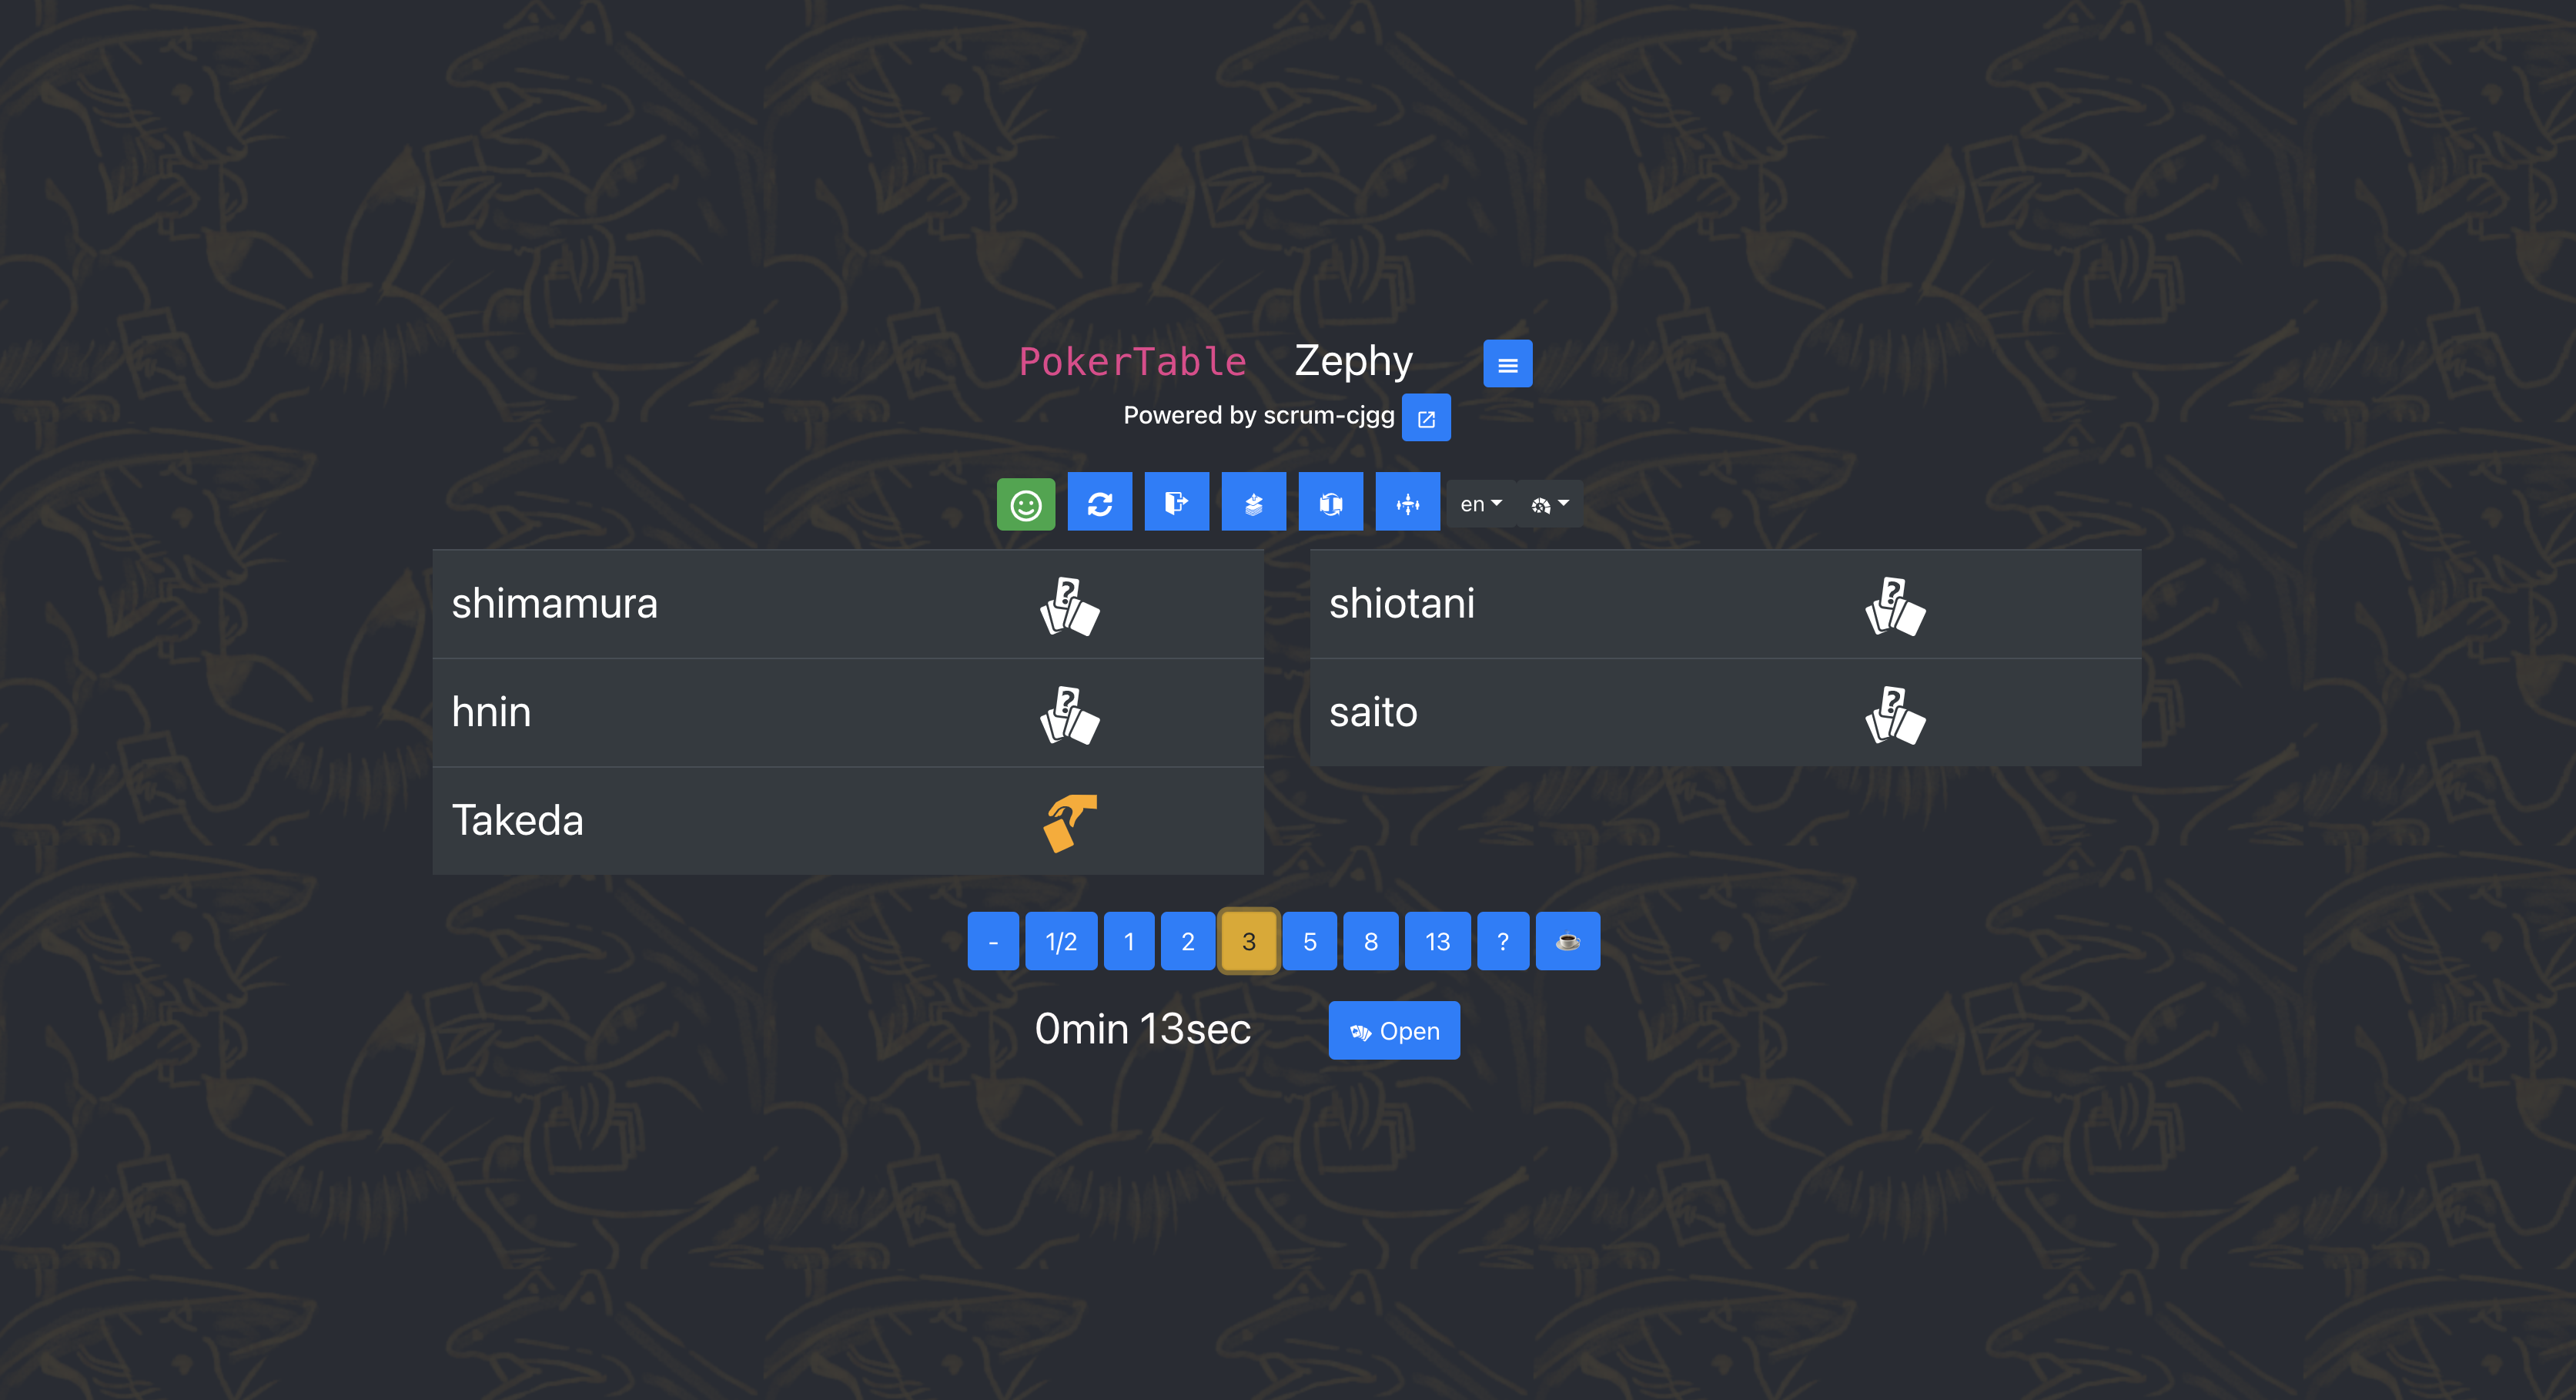
Usage#
Create Account (first time only)#
- An account is required to use the tool.
- No account creation is required for Google or LINE sign-in. Please go to Poker table creation
.
- The LINE button is on the “Sign In” tab.
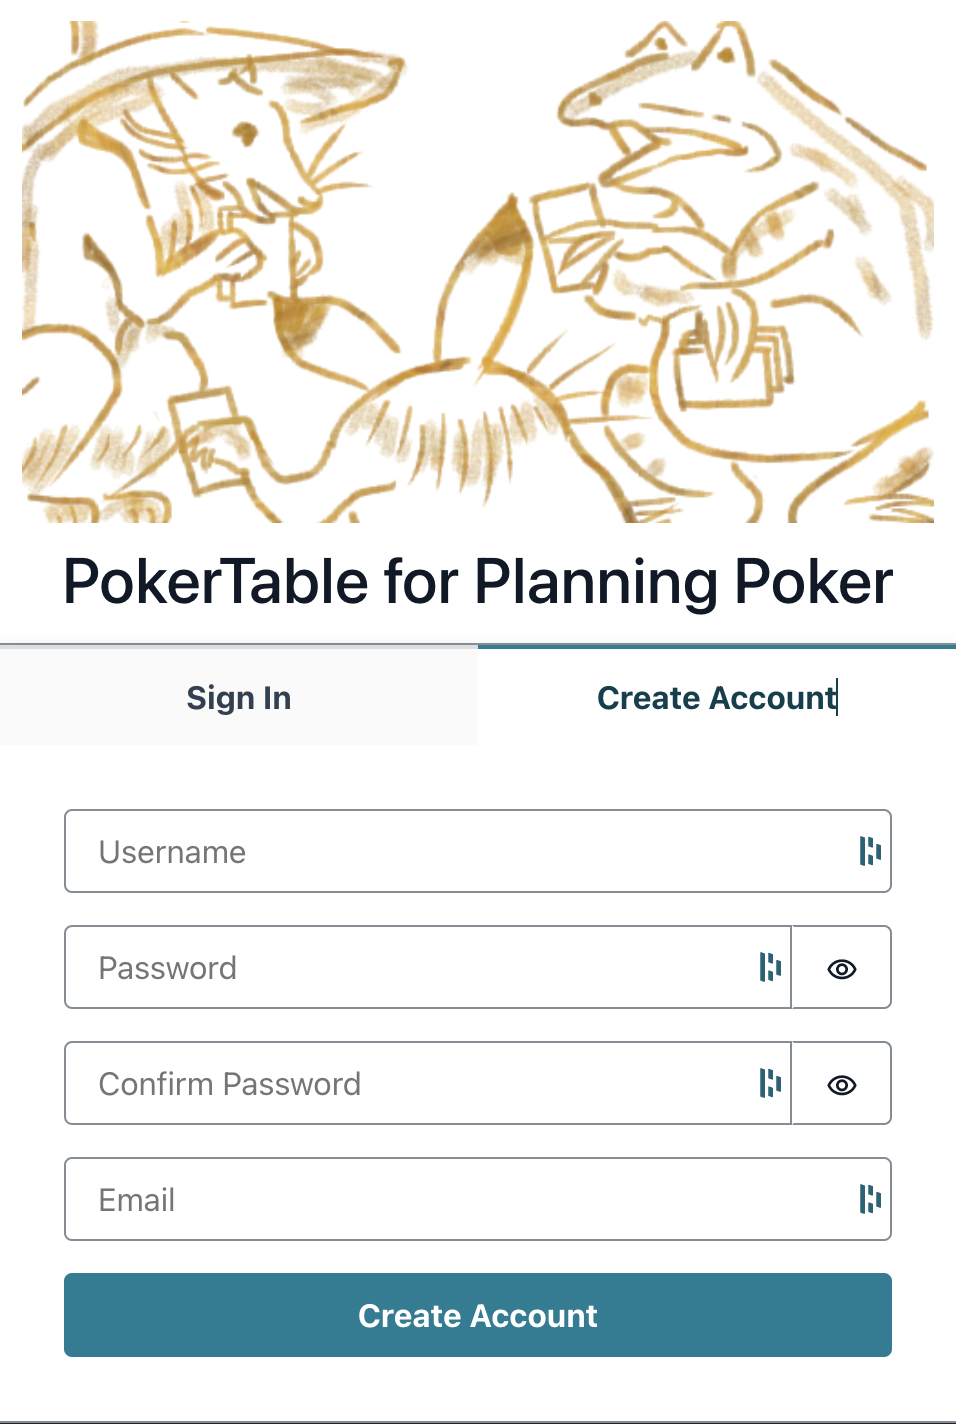
- Access the URL and select the “Create Account” tab.
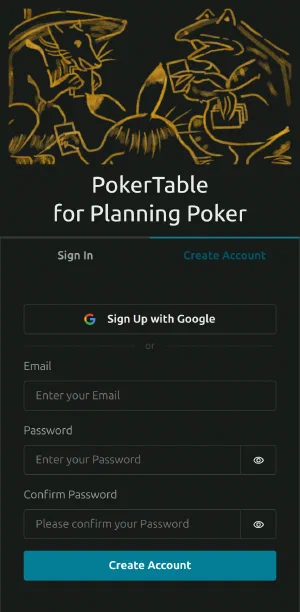
Create Account - Input Email, Password and Confirm Password.
- Your email address is the ID you sign in with. It must be able to receive messages.
- Password and Confirm Password must match.
- Click the “Create Account” button.
Verify your email address (first time only)#
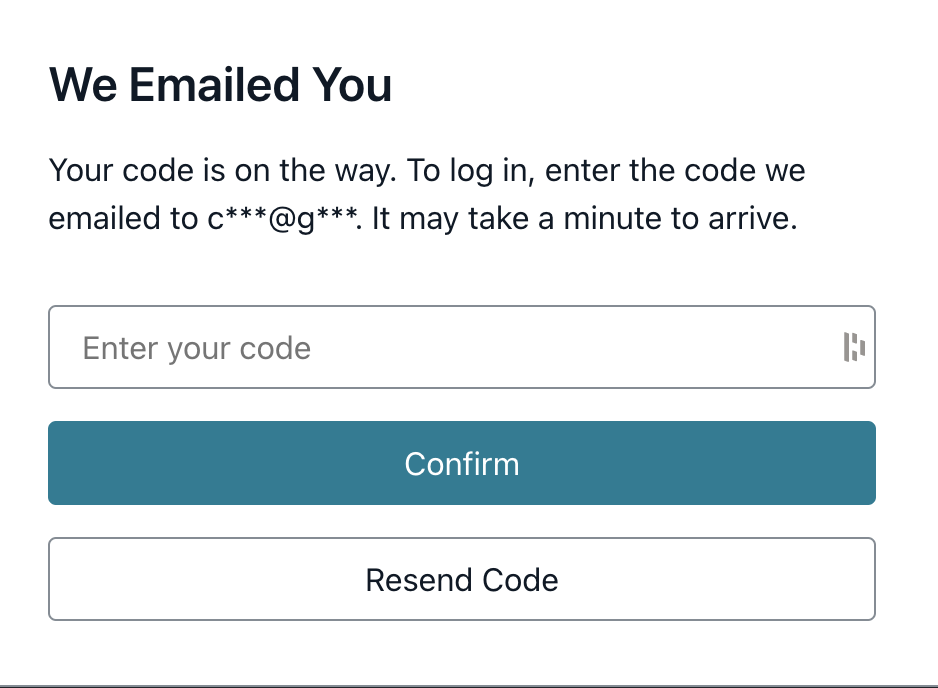
- A verification code will be sent via email to verify that the email address is valid.
- The subject is “オンラインプランニングポーカー 見積もり場 - 確認コード / Verification code”.
- Enter the verification code from the email you received.
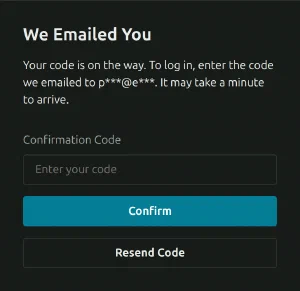
Verify your email - Push Confirm button.
- After successful verification, you can log in.
- You are not at any table yet, so the screen shows what to do next.
Change your display name (as needed)#
- You can change the name shown in the participant list. It is optional.
- Until you set one, the name from your sign-in is shown: the account name for social sign-in, or the part before “@” of your email address.
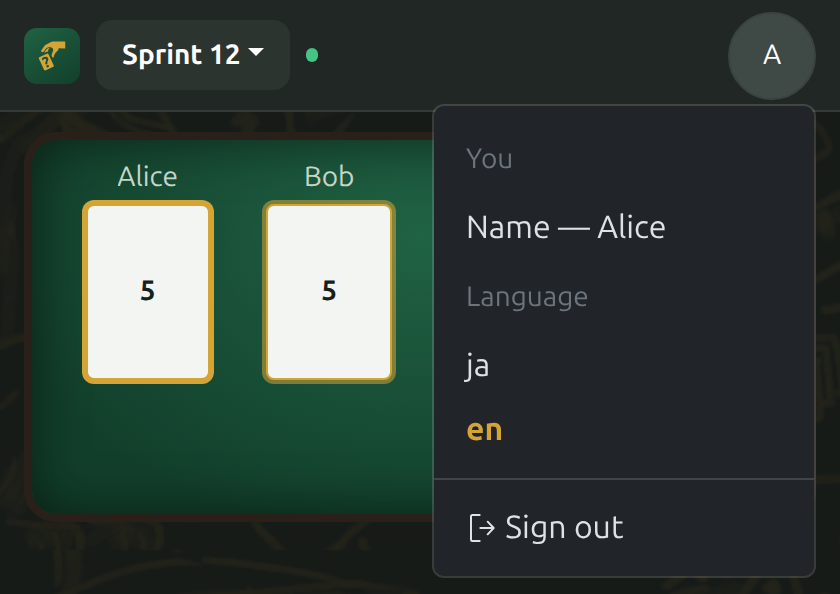
- Press your icon at the right end of the top bar. Your own menu opens.
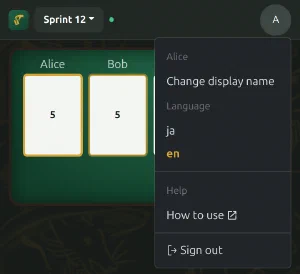
Your own menu - The display name you are using now is shown as the heading at the top of the menu.
- Press “Change display name” under it.
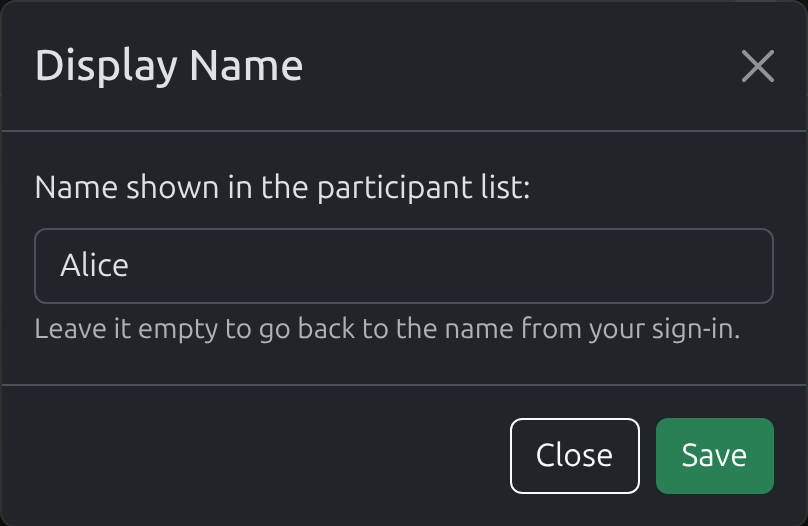
- Enter a new name in the “Display Name” dialog and press the “Save” button.
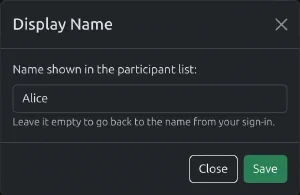
The Display Name dialog - Up to 20 characters.
- Save it empty to go back to the name from your sign-in.
Poker table creation (as needed)#

- Create a poker table whenever you need a new one. For the first one, it is recommended that a representative, such as the Scrum Master, creates it.
- If you have already been given a share URL, skip creation and go to Sharing the table .
- Press the “Create a table” button on the screen shown right after sign-in. The “Manage tables” dialog opens.
- While you are not at any table, the top bar reads “Pick a table”. You can open the dialog from there as well.
- If you are already at a table, press the table name in the top bar and choose “Manage tables…”.
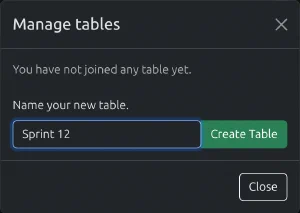
The Manage tables dialog
- Enter a name in the field under “Name your new table.” and press the “Create Table” button.
- Up to 20 characters.
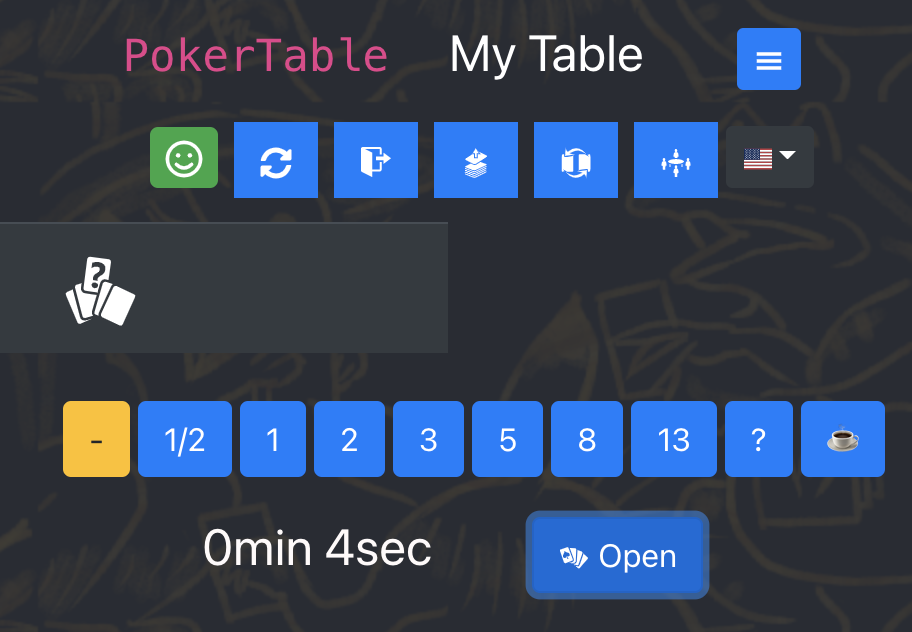
- Once you are at the table, its name appears in the top bar and your seat is shown.
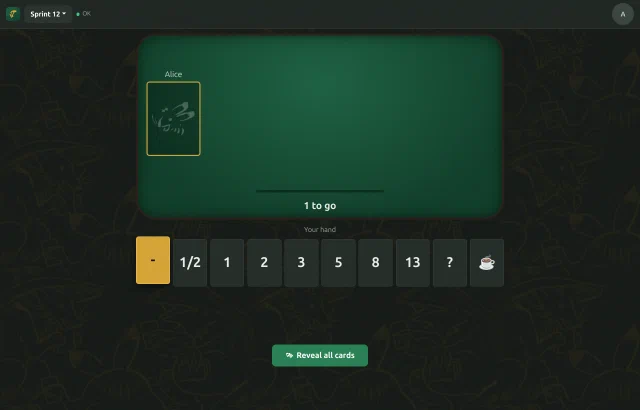
Right after the table is created - The table creator is automatically seated.
- You are alone just after the table is created.
Sharing the table & Invite participants (as needed)#
- Invite other participants to the table you have created.
- Press the table name in the top bar. The table menu opens.
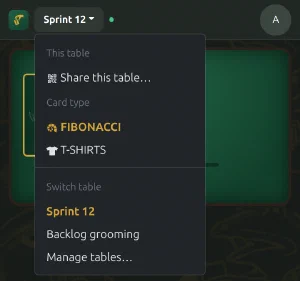
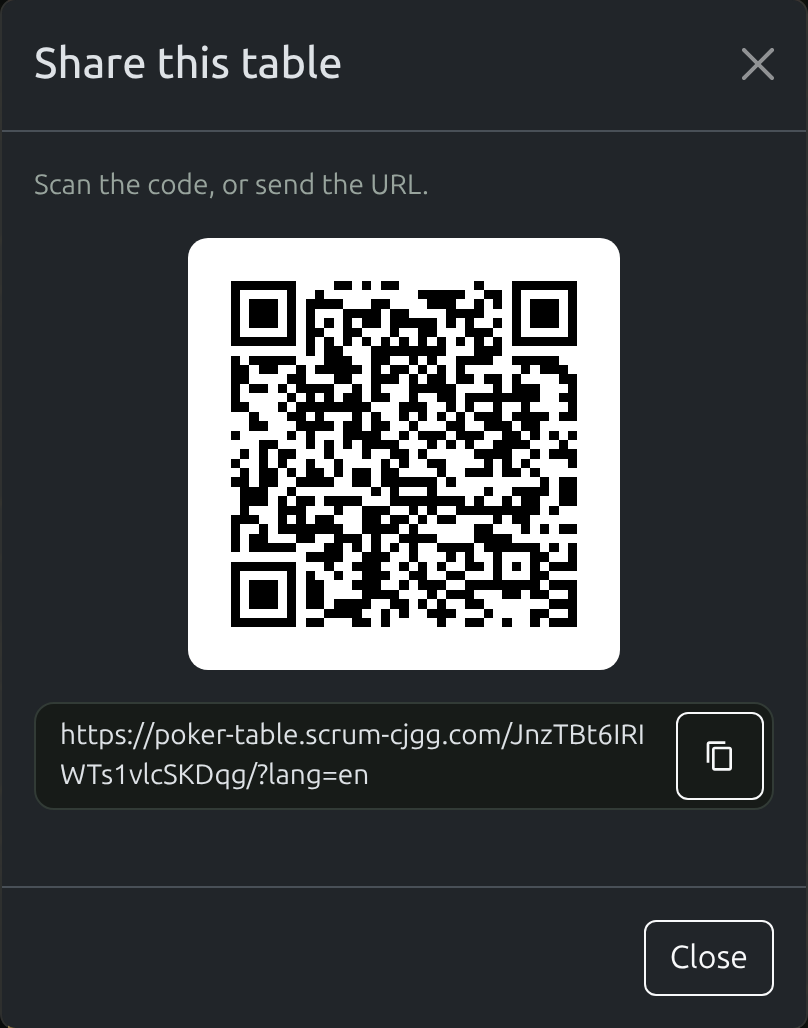
The table menu - Press “Share this table…” under “This table”. The “Share this table” dialog opens.
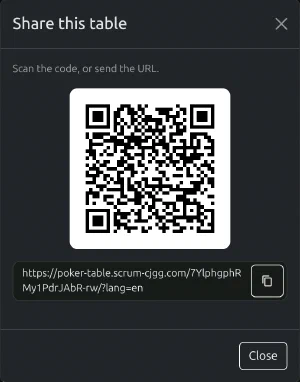
The share dialog - There are three ways to hand it over. Pick the one that fits.
- Let them scan the QR code. If you are in the same room, having them scan it with their phone camera is the quickest way.
- Show the screen. If you are sharing your screen on a call, they can scan it from there. You can also save it as an image and send it.
- Send the URL. The URL is shown under the QR code. The “Copy URL” button at its right end copies it to the clipboard, so you can paste it into a chat or an email.
- Opening the URL or scanning the QR code seats them automatically.
- They do not have to be signed in beforehand. If they sign in after opening it, they land on that table.
- On a phone, LINE sign-in fails partway through in a private or incognito tab. Please use an ordinary tab.
- If the URL arrives in a form they cannot press, pasting it into the browser’s address bar does the same.
- Anyone who knows the URL or the QR code can join. Do not share it carelessly.
- As more people are seated, their seats are shown at the table.
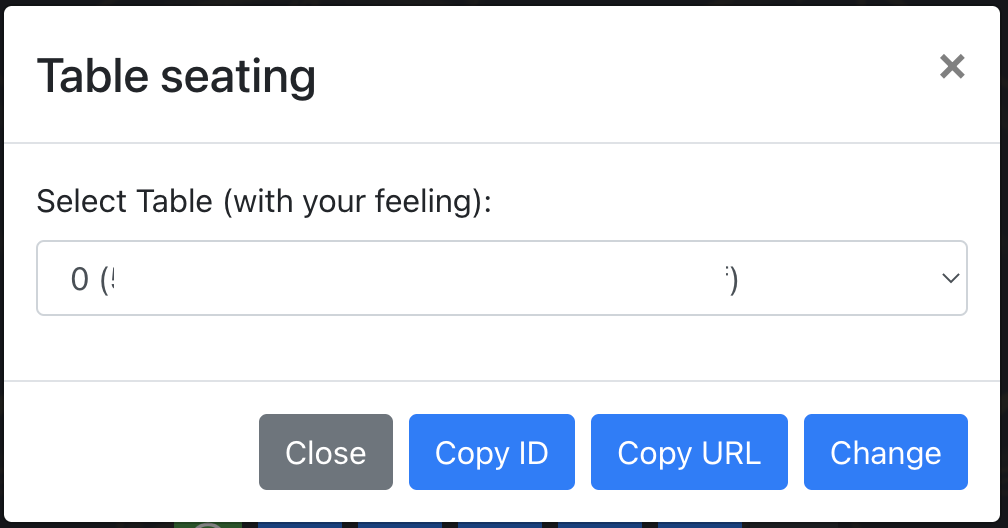
- To move to another table you have joined, press the table name in the top bar to open the menu. The tables you have joined are listed near the bottom; press the one you want and you are moved there.
- The table you are currently at is marked.
- Pressing its row in the “Manage tables” dialog does the same.
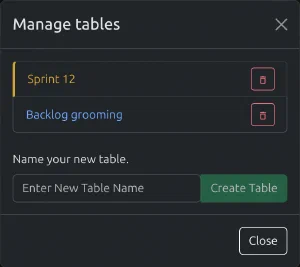
The Manage tables dialog
- To leave a table you no longer use, press the trash button at the right end of its row in that same dialog.
- It asks whether to leave that table. “Leave” removes you from it; “Cancel” stops.
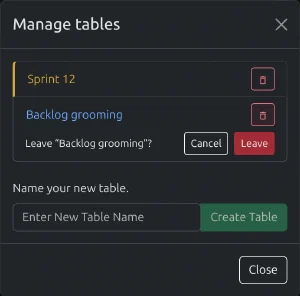
Confirming that you leave
- It asks whether to leave that table. “Leave” removes you from it; “Cancel” stops.
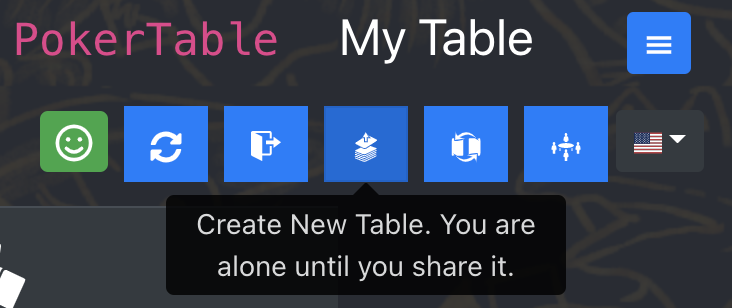
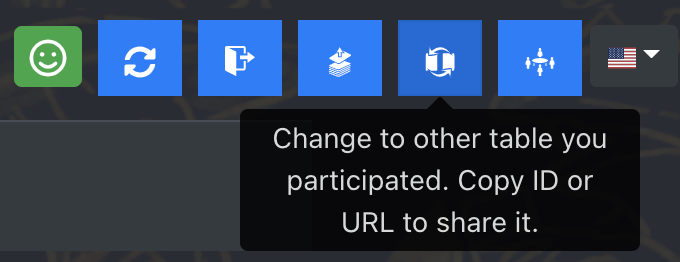
Estimates#
- It is convenient for you to bookmark the shared URL.
- It is designed to be used in conjunction with online call tools for discussion.
- Check the dot next to the table name to confirm that it is in sync.
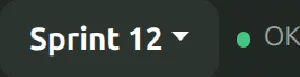
Synchronization status - While it says “OK”, other people’s moves appear right away.
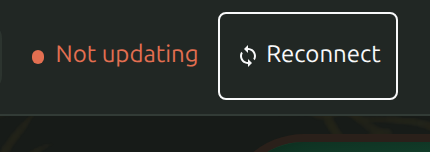
- When it stops, the dot turns orange and “Not updating” appears with a “Reconnect” button.
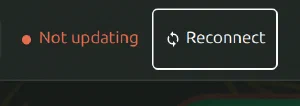
The screen stopped updating
- Confirm that the participant’s names are displayed.
- Pick a card from “Your hand”.
- Once you pick one, your card on the table changes its look.

A seat before picking a card 
A seat after picking a card - The table shows how many people are left, as “N to go”, and the band above it fills up as people pick. It turns into “Everyone is in” once all of them have picked.
- Once you pick one, your card on the table changes its look.
- Press the “Reveal all cards” button.
- Anyone can press it, but it is a good idea to decide who will reveal the cards.
- It can be revealed even if someone has not picked.
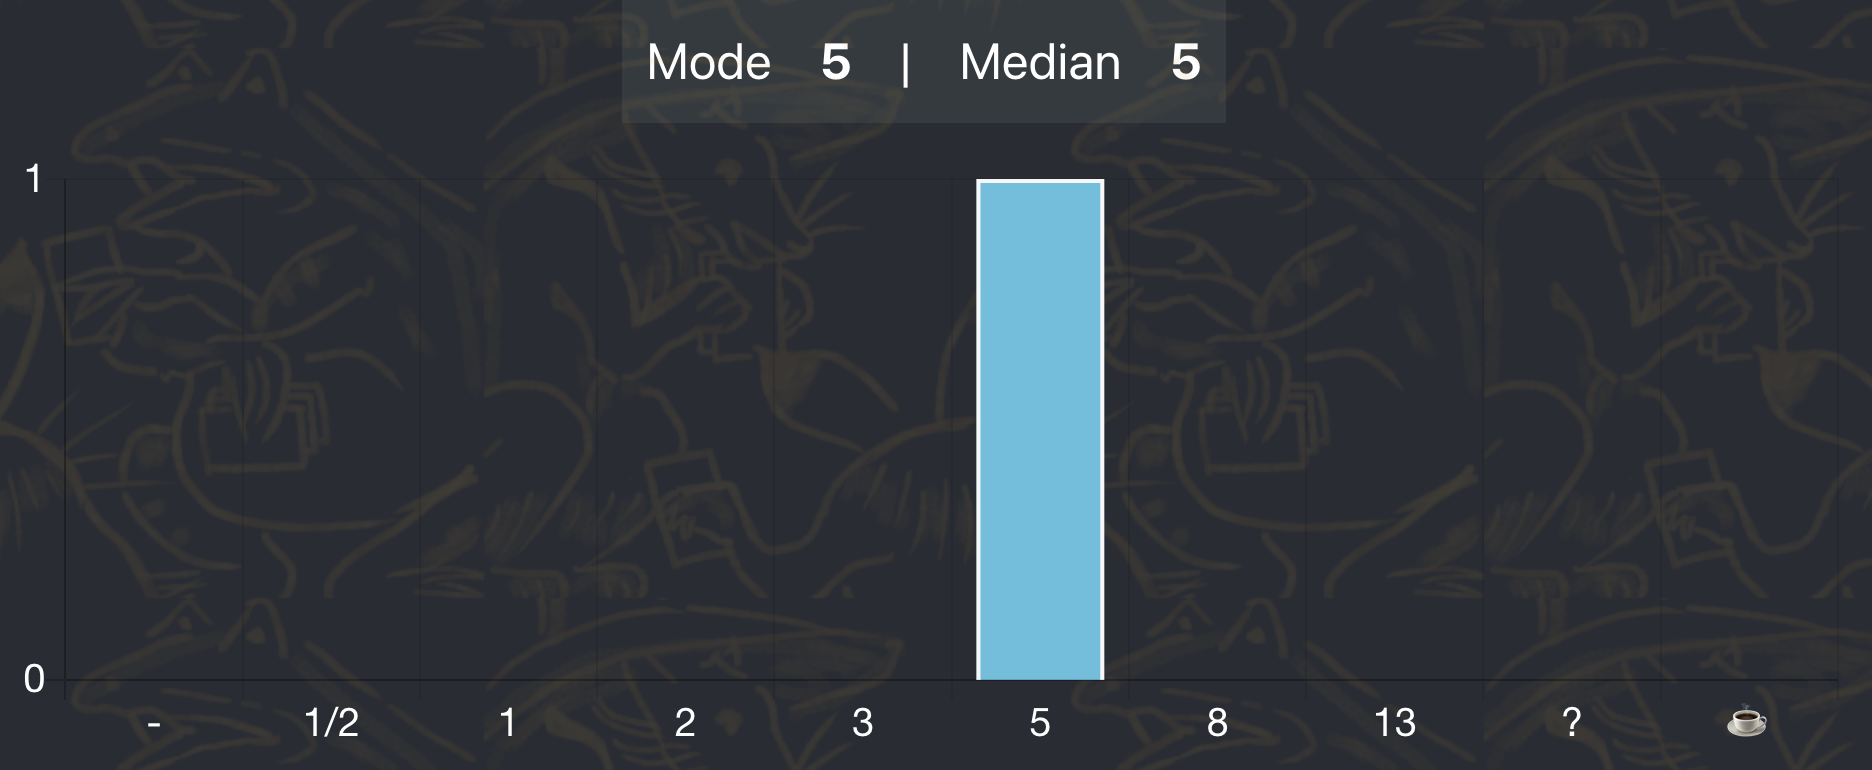
- The cards and brief statistics are displayed.
- Mode, median, spread (from the lowest to the highest), and a graph of how many votes each value got.
- Where your hand was, “You played N” keeps showing the card you put down.
- Discuss the result and determine the final estimated point.
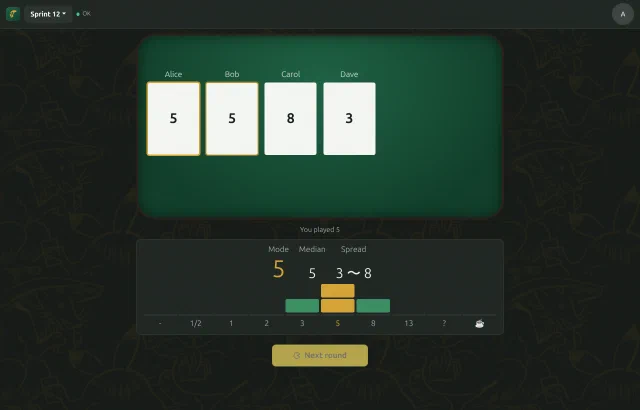
After the cards are revealed
- Press the “Next round” button to go back to picking cards.
- Anyone can press it, but it is a good idea to decide who will do it.


Notes#
- When it stops updating, a “Reconnect” button appears in the top bar. Press it to reconnect.
- You can join up to 3 tables at a time.
- Once you reach the limit, “Manage tables” no longer lets you create a new one. Leave one of them first.
- Dual assignments and multi-projects are not encouraged.
- A table works best with 3 to 8 people.
- A table is full at 18 people and nobody else can join, but an estimation conversation that still works needs far fewer.
- When you cannot join a table, the reason is shown at the top of the screen.
- For example, the URL is out of date, the table has been deleted, you have reached the limit, or the table is full.
- You can choose the card type between the Fibonacci sequence and T-shirt sizes.
- Choose it under “Card type” in the table menu. It changes the hand of everyone at the table.
- You can switch languages.
- Choose ja (Japanese) or en (English) under “Language” in your own menu. Only these two are available.
- “How to use” under “Help” in your own menu opens this page.
- Login status will be maintained for one month.
Personal Information#
- You will need to enter your “email address” and “password” due to the nature of the tool.
- The “password” should be a combination of random alphanumeric characters and symbols, and should not be guessable or shared with other sites. I recommend the use of password management software.
- The “email address” is used as your sign-in ID, to prevent unauthorized account acquisition, and to reset your password. It must be a real address.
- Please do not enter any important information in either case.
- The “display name” is the name shown in the participant list while you use this tool. Please avoid the use of personal information or offensive language to public order and morals.
- About OAuth Authentication
- On Google, it requests the scope openid/email/profile and uses id/email/name, where id is for unique identifier, email is for the aforementioned reason, and name is for display name.
- On LINE, it requests the scope openid/email/profile and uses id/email/name, where id is for unique identifier, email is for the aforementioned reason, and name is for display name.
- Facebook login was closed in Jul 2026.
- I will never use these information to make any contact, nor will it be shared with any third parties.
Disclaimer#
- I make it as a personal interest.
- The provision of the tool is subject to change or discontinuation without notice (e.g., in the event of unauthorized use, or when operational costs become prohibitive).
- Any loss, damage or problems resulting from the use of this tool is solely the responsibility of the user.